


How to Stabilize Shaky Video on Windows/Mac/Android/iPhone
 Mike Rule
Updated on
Currently, numerous mainstream shooting devices, including cameras, smartphones, and camcorders, are equipped with video stabilization features. Furthermore, the use of tripods and gimbals has further reduced hand tremors, ensuring that captured videos are even smoother. However, despite these efforts, recorded videos may still exhibit slight shaking. As a result, we need to rely on post-processing techniques to achieve video stabilization. So, how to stabilize an already recorded video in post-processing?
In the following, we will introduce four effective methods to you. Whether you want to stabilize videos on Windows, Mac, Android, iPhone, or even in your browser, you can find suitable methods for each platform.
Method 1. Stabilize Video with Winxvideo AI
Compatible OS: Windows, Mac
Winxvideo AI is a multifunctional tool that can enhance video quality, convert, compress, record, edit, and download video. It provides many features to improve video quality, including stabilizing video, super resolution, frame interpolation, deinterlacing, deblurring, denoising video, sharpening video, colorizing video, removing fisheye, and syncing video and audio.
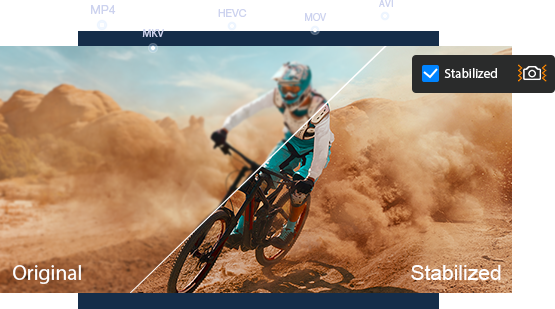
Winxvideo AI is an easy-to-use AI-powered video stabilization software. It boasts two analysis modes: One Pass and Two Pass. One Pass mode impresses with its swift data analysis, providing quick results. On the other hand, Two Pass mode meticulously analyzes extensive data, trading a bit of speed for remarkable stability results.
And to make things easier, Winxvideo AI introduces 4 presets, namely Best Stability, Balanced, Fastest, and Minimum Crop. Users can choose the preset that aligns with their needs, and let Winxvideo AI take care of the rest.
Now, let's free download and install Winxvideo AI and follow the steps below to stabilize video.
 Free Download
  Free Download
Note: AI tools for Mac are currently unavailable, but they're coming soon. Stay tuned.
How to stabilize video in Winxvideo AI
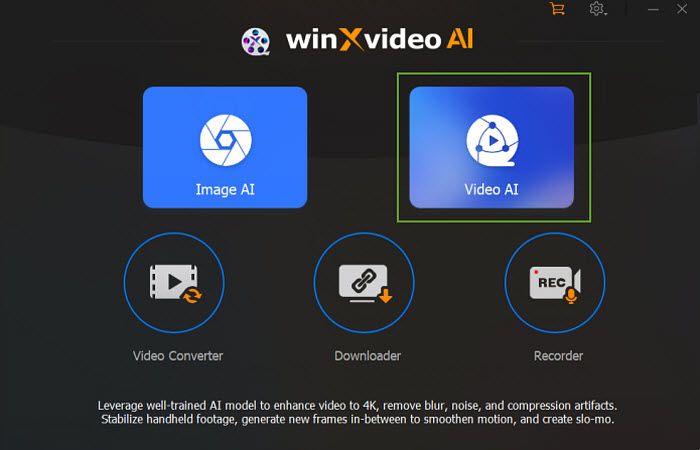
Step 1. Open Winxvideo AI and select Video AI.
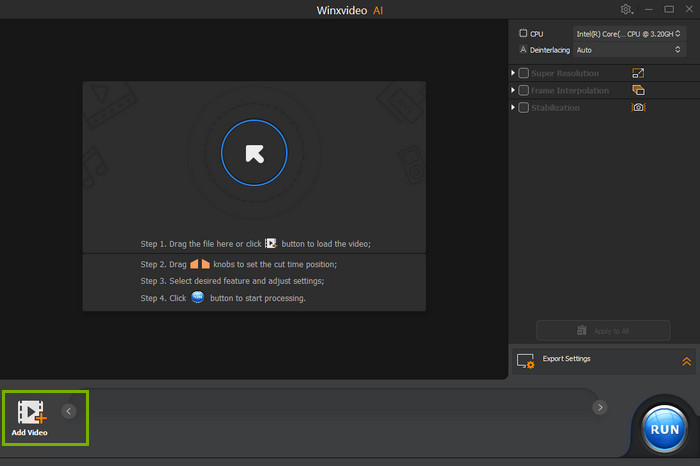
Step 2. Click the + Add Video button at the bottom left corner to load the shaky video you want to stabilize.
Tips: You can load multiple video clips for batch processing.
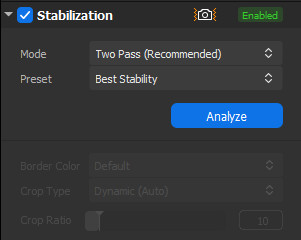
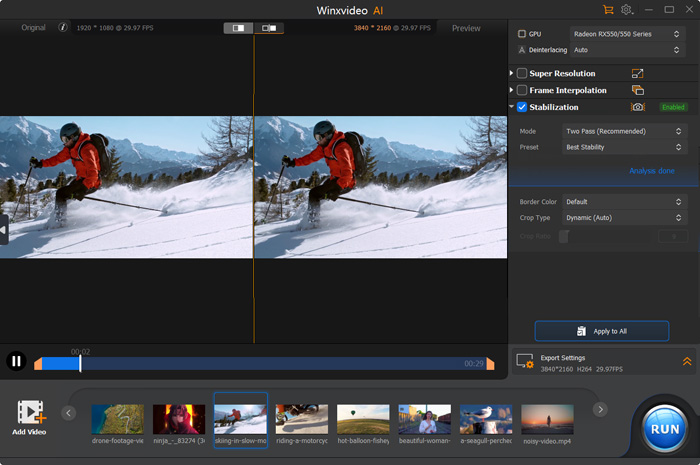
Step 3. Check Stabilization on the right side, and then select desired analysis mode and preset. After that, hit the "Analyze" button to analyze and stabilize your video with its advanced AI model.
You'll see the AI progress in the preview window. Once done, preview the result.
Step 4. Specify the export settings and then click the "RUN" button to output the stabilized video.
That's all. As you can see, it's quite easy to stabilize shaky video with Winxvideo AI.
Tips: If you are not satisfied with the preview result, you can reselect the mode and preset for analysis. Additionally, you can adjust the border color, crop type, and crop ratio.
The border color dictates how the video's edge appears. If you opt for the Default setting, it fills the edge with a black color. Selecting Replicate duplicates the pixels along the edge to fill it, while Reflect copies and symmetrically fills the edges based on neighboring pixels.
Regarding Crop Type, Fixed suits videos with consistent and mild translational shake frequencies. Dynamic adapts to videos with varying shakes, analyzing frequencies to adjust cropping and prevent displacement. Customize allows personalized cropping ratios. When set to "Customize", the Crop Ratio value can be adjusted. This value determines the retained frame area. Higher values enhance stabilization by cropping more, while lower values maintain more of the frame, resulting in less effective stabilization. Adjust the Crop Ratio and preview the real-time effect to fine-tune your preferences.
Method 2. Stabilize Video with Online Video Stabilizer
Compatible OS: Windows, Mac, Android, iOS
If you're trying to stabilize a small video, you can try an online video stabilizer. Large videos are not recommended to use online tools, as it will take a large amount of time to upload source file.
One of the online video stabilizers you can try is on https://online-video-cutter.com/. Now, let's check how it works.
How to stabilize video online?
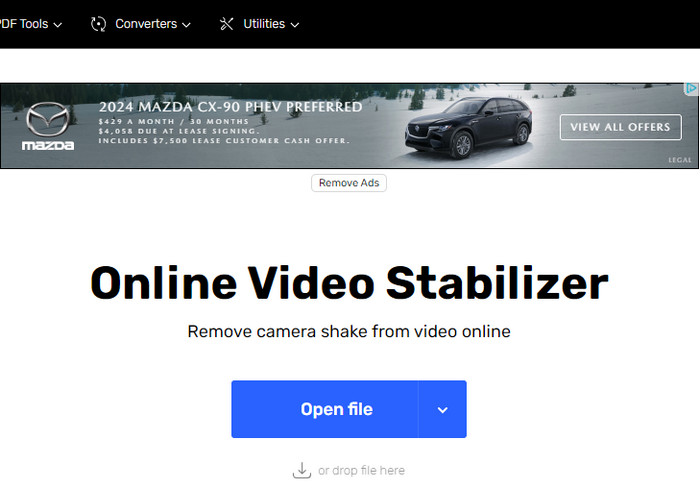
Step 1. Go to online video stabilizer: https://online-video-cutter.com/stabilize-video.
Step 2. Click the "Open file" button to import the video you want to stabilize. In addition to local files, it allows you to load videos from Google Drive, Dropbox and other platforms.
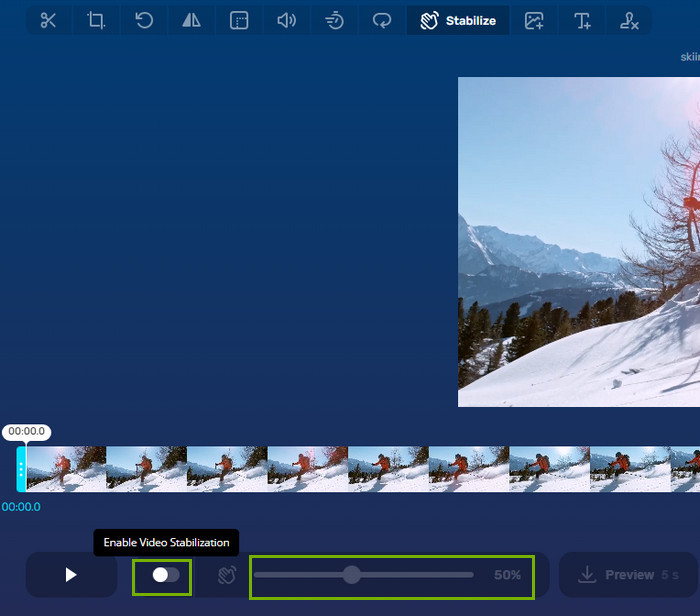
Step 3. Enable video stabilization. This button is beside the Play/Pause button. The default stabilization strength is 50%. You can adjust it based on your own needs.
Step 4. Click the Save button to begin encoding.
Step 5. After finishing encoding, click the Save button to download the stabilized video to your computer.
Method 3. Stabilize Video with Google Photos
Compatible OS: Android
Google Photos is a cloud-based media storage and sharing service, but not just that. Many users may not have noticed that this app can actually stabilize videos as well. However, stabilization feature is only available on Android. If you're an Android user, you can follow the steps below to stabilize video on Android.
How to stabilize video with Google Photos?
Step 1. Download and install Google Photos on your Android.
Step 2. Open Google Photos and choose the video you wish to stabilize.
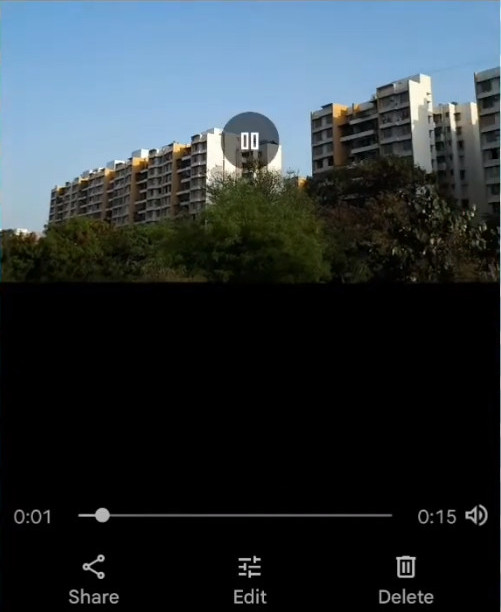
Step 3. Click the Edit button at the bottom and then click the stabilization icon which is a rectangle with a diagonally positioned rectangle inside. Then it will start stabilizing your video.
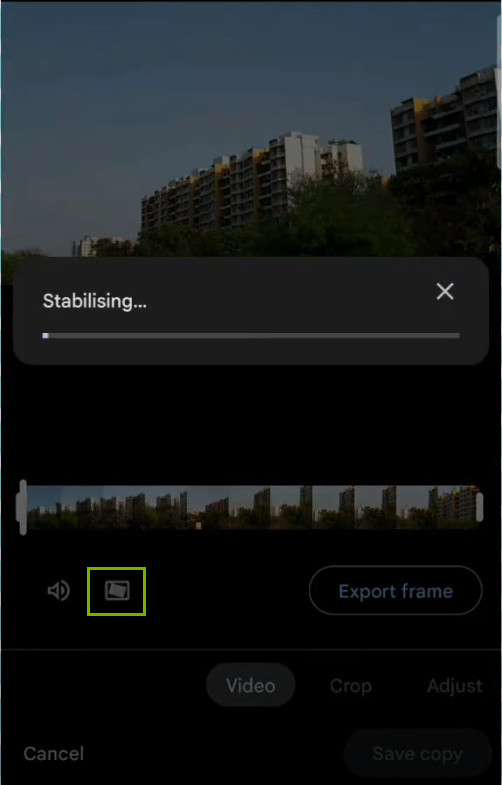
Step 4. After stabilizing, click the "Save copy" button to save the stabilized video.
Can't stabilize videos with Google Photos? Check fixes >>
Method 4. Stabilize Video with Adobe Premiere Pro
Compatible OS: Windows, Mac
Adobe Premiere Pro is a professional-grade video editing software. It offers many advanced features. The Warp Stabilizer effect in Adobe Premiere Pro can effectively smooth out shaky footage and deliver professional results.
Adobe Premiere Pro requires a high computer configuration. If you have a high-end computer, you can try using Adobe Premiere Pro to remove shaking from your video.
How to stabilize video with Adobe Premiere Pro
Step 1. Download and install Adobe Premiere Pro.
Step 2. Open Adobe Premiere Pro and create a new project.
Step 3. Import the video clip you want to stabilize into your project.
Step 4. Right-click on the video clip in the Project panel and select "New Sequence From Clip." This will create a new sequence that matches the settings of your video clip.
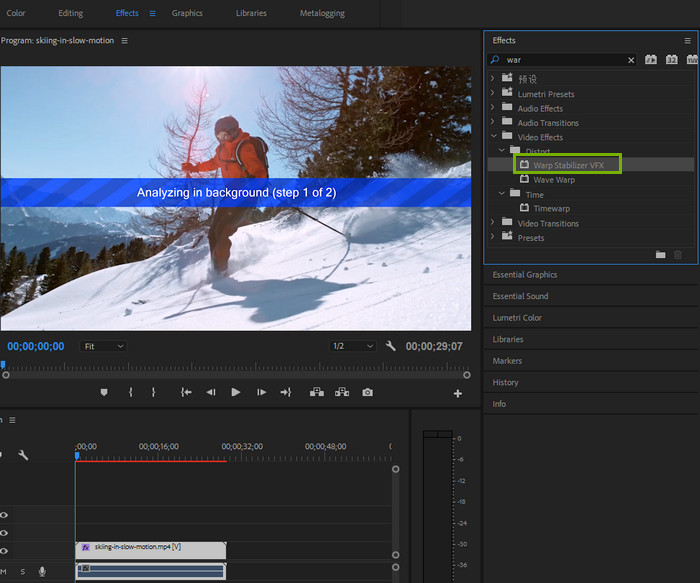
Step 5. Drag the video clip from the Project panel to the Timeline. Select the clip in the Timeline, and then go to the "Effects" panel. Search for "Warp Stabilizer" and drag it onto the clip in the Timeline.
Step 6. After applying the Warp Stabilizer effect, it will start analyzing the clip to determine the necessary stabilization adjustments. You will see a progress bar indicating the analysis process.
Step 7. Once the analysis is complete, you'll see the effect controls for the Warp Stabilizer in the Effects Control panel. You can adjust settings such as "Smoothness" to control the level of stabilization. You can also choose between different stabilization methods, like "Position," "Scale," and "Rotation," based on your needs.
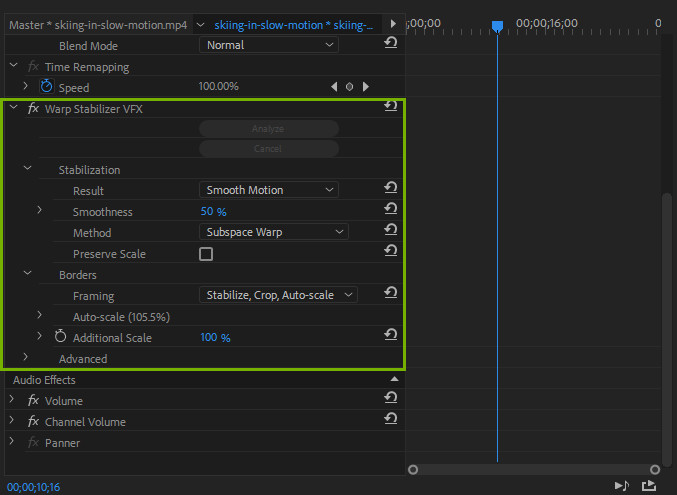
Step 8. Play back the clip in the Timeline to see the stabilization effect in real-time. Adjust the settings as needed to achieve the desired result.
Step 9. Once you're satisfied with the stabilization, go to "File" > "Export" > "Media" to access the export settings. In the export settings, choose the desired format, resolution, and other options. Click "Export" to begin rendering your stabilized video.
Check more tips on stabilizing videos in Adobe Premiere Pro >>
Method 5. Stabilize Video with Final Cut Pro
Compatible OS: Mac
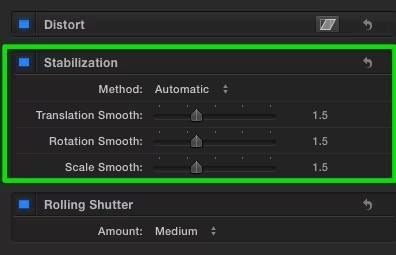
Final Cut Pro is a comprehensive video editing software available exclusively for Mac users. Its robust stabilization feature empowers you to effectively reduce camera motion in your videos, enhancing their overall quality. Once you activate Stabilization, Final Cut Pro intelligently analyzes your footage to determine the optimal stabilization method—either InertiaCam or SmoothCam. Moreover, you have the flexibility to fine-tune parameters such as Translation Smooth, Rotation Smooth, and Scale Smooth to achieve your desired results.
In addition to its Stabilization feature, Final Cut Pro also offers a rolling shutter correction tool to address image distortion caused by fast-moving subjects or camera movements.
How to stabilize video with Final Cut Pro
Step 1. Ensure Final Cut Pro is installed on your Mac. If not, download and install it.
Step 2. Open Final Cut Pro, import the shaky video you wish to stabilize and add it to the timeline.
Step 3. Select the video clip and click on the Inspector button located on the right side of the toolbar to access the Video inspector.
Step 4. Within the Video inspector, click on the Video tab.
Step 5. Enable the Stabilization option and adjust the settings to suit your needs.
Check more tips and recommended settings for stabilizing video in Final Cut Pro >>
Step 6. If necessary, also enable the Rolling Shutter option to mitigate rolling shutter distortion.
Step 7. Play the video in the timeline to preview the stabilization effect and ensure the desired outcome has been achieved.
By following these steps, you can effectively stabilize your video footage and enhance its visual quality using Final Cut Pro's intuitive tools.
Conclusion
So above are the methods we want to introduce to you to stabilize shaky videos. As you can see, the options are diverse. You can stabilize video online, on your desktop, or on your mobile device. Each has their own pros and cons. If you have a high-end computer and are willing to pay a premium for this feature, you can try Adobe Premiere Pro. If your computer's specifications are average and your budget is limited, but you still want a powerful video stabilization software, then give Winxvideo AI a try.


