How to Animate a Still Image: Transform Your Photos into Eye-Catching Stories
 Mike Rule
Updated on
In the realm of digital creativity, the ability to breathe life into static images has become a highly sought-after skill. While traditional animation techniques require extensive time and expertise, the advent of AI-powered tools like Google Vlogger AI has revolutionized the process, making it accessible to anyone with a creative spark. This comprehensive guide will share how to animate a still image using After Effects, Google Vlogger AI, and Canva to produce stunning animated visuals.
Tips for How to Animate a Still Image Perfectly
Selecting the perfect still image for animation. The foundation of successful animation lies in choosing the right still image. Here are some key factors to consider.
1. Image Resolution
A high-resolution image is crucial for maintaining clarity and avoiding pixelation during the animation process. High-resolution images contain more detail, allowing for more precise and smoother animations. When selecting an image, ensure it has a resolution that meets or exceeds 1080p (1920x1080 pixels) to guarantee high-quality results.
Don't let blurry images drag down your animations. High-resolution images are vital for maintaining crisp details and smooth transitions during animation. Aim for images with at least 1920x1080 pixels (1080p) for optimal results.
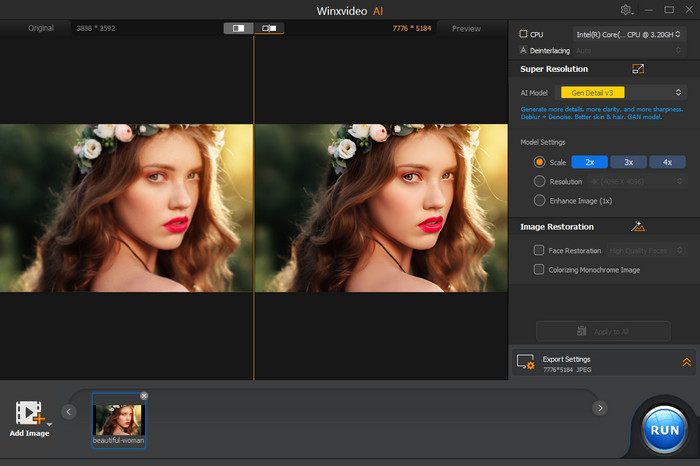
Even if your existing images are low-resolution, there's hope. WinX Video AI can upscale and enhance them, transforming them into sharp assets perfect for animation. With high-resolution images and WinX Video AI's help, your animations will captivate viewers with stunning clarity and detail.
 Free Download
  Free Download
Winxvideo AI is for PC, while Macxvideo AI (from our MacXDVD brand) is for macOS.
2. Clear Subject Matter
Choose an image with a well-defined subject that stands out from the background. This will make it easier for the AI to track and animate the desired elements. A clear subject allows the AI to focus on the essential parts of the image, ensuring that the animation looks natural and engaging. Images with a prominent foreground subject, such as a person, animal, or object, are ideal.
3. Minimal Blur
Avoid images with excessive blur or motion blur, as these can make it challenging for the AI to accurately capture and animate the subject. Sharp, well-focused images provide a solid base for the AI to work with, ensuring that the animations are smooth and free of artifacts. If your image contains blur, consider using image enhancer software to fix blurry photos and enhance sharpness before uploading it to Google Vlogger AI.
How to Animate a Still Image with AI Free
Having identified your perfect still image, it's time to breathe life into it. Let's delve into the fascinating world of AI animation and explore how these powerful tools can transform your static image into a mesmerizing animated masterpiece.
How to Animate a Still Image with Google Vlogger AI
Google Vlogger AI is a groundbreaking AI tool that allows users to animate still images with remarkable ease and precision. Its intuitive interface and user-friendly features make it an ideal choice for both beginners and experienced animators.
At the core of Google Vlogger AI is its advanced AI technology, which analyzes and understands the structure of your still images. The AI can identify key elements and apply realistic motion to them, creating lifelike animations. This powerful technology eliminates the need for complex manual animations, allowing you to focus on your creative vision. Google Vlogger AI offers a range of features that enhance the animation process. From motion points and paths to preset animation styles, the tool provides a variety of options to bring your images to life. Additionally, you can add music, sound effects, and text overlays to further enrich your animations.
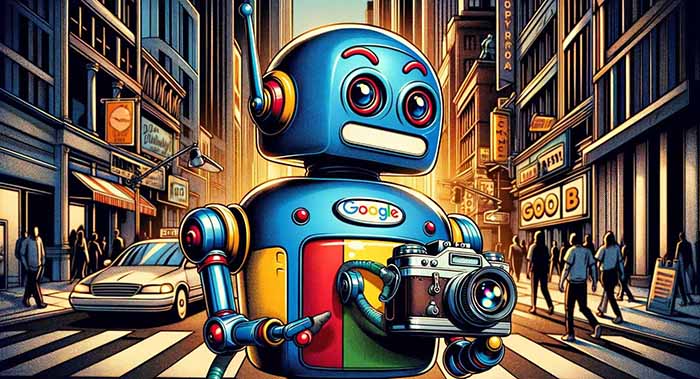
Step-by-Step Guide: Animating with Google Vlogger AI
Step 1. Visit the Google Vlogger AI website or download the app to get started. Create an account or log in with your existing Google credentials to access the platform.
Step 2. Click the "Upload Image" button and select your chosen still image from your device. Ensure the image meets the recommended resolution and quality standards for optimal results.
Google Vlogger AI offers a selection of preset animation styles that can enhance the visual appeal of your image. Browse through the available styles and choose one that suits your image and desired effect. These styles range from subtle movements to more dynamic effects, providing a variety of options to match your creative vision.
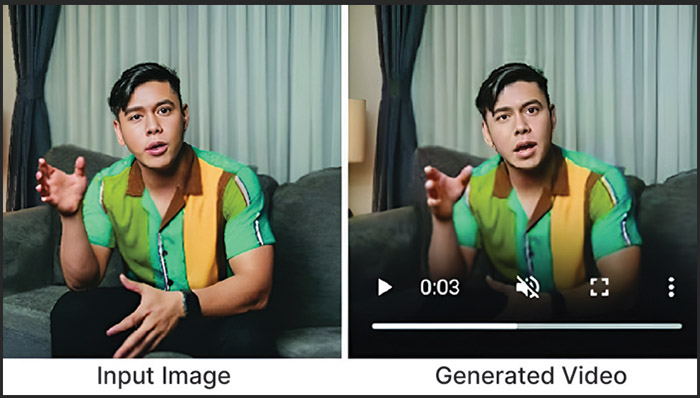
Step 3. Google Vlogger AI utilizes motion points to define the direction and speed of movement. Click and drag motion points onto specific elements in your image to initiate animation. Motion points act as anchors that guide the movement of the subject, allowing you to create realistic and controlled animations.
Step 4. For more complex animations, create paths for elements to follow. Define the path by placing anchor points along the desired route. Movement paths enable you to animate objects in a more intricate and detailed manner, adding depth and dimension to your animations. Experiment with different paths to achieve the desired motion effects.
Adjust the timing and speed of each animation element to achieve the desired effect. Google Vlogger AI provides tools to fine-tune the duration and pace of movements, ensuring that the animation flows smoothly. Experiment with different timing settings to find the perfect balance for your animation.
Step 5. Once you are satisfied with your animation, click the "Export" button and choose the desired video format and resolution. Google Vlogger AI supports various formats, including MP4 and GIF, allowing you to select the best option for your needs. Ensure that the resolution matches the intended display platform to maintain quality.
How to Animate Still Photos in After Effects
After Effects grants you complete creative freedom, allowing you to craft animations limited only by your imagination. From dynamic camera movements to intricate character animation, After Effects offers a vast arsenal of tools for professional-looking results. Its seamless integration with other Adobe Creative Suite applications like Photoshop and Illustrator allows for a smooth workflow.
After Effects boasts a complex interface and a vast array of features. Mastering the software requires dedication and practice. Creating high-quality animations takes time. Be prepared to invest effort in learning the software and crafting your animation. After Effects is a resource-intensive application. Ensure your computer meets the recommended system specifications for smooth operation.
Ready to Animate in After Effects? A Step-by-Step Guide
While the learning curve might seem daunting, the rewards of mastering After Effects are vast. With dedication and these steps as your guide on how to animate a still image, you'll be well on your way to transforming your still images into captivating animations.
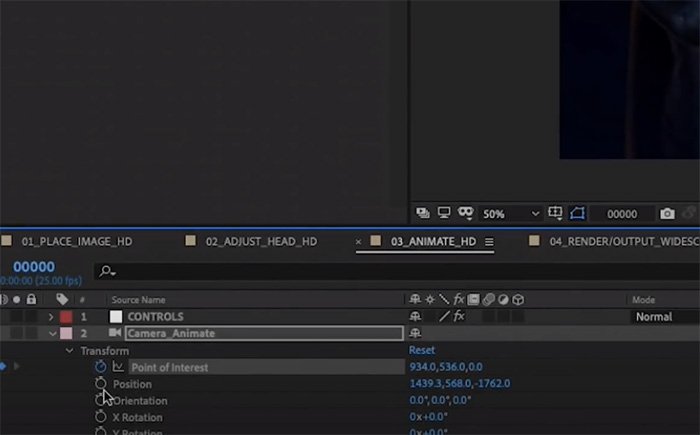
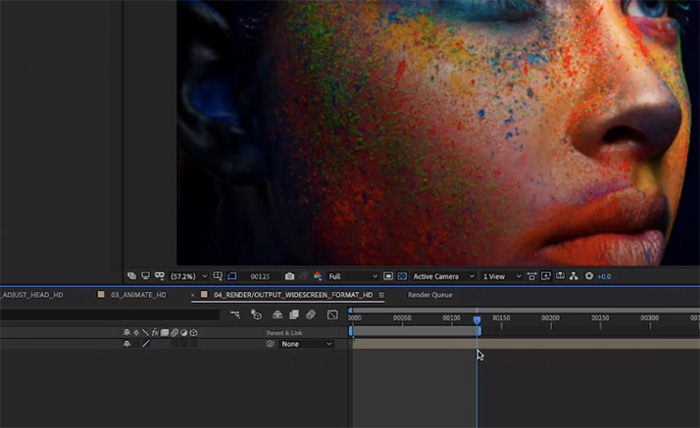
Step 1. Import your photo into After Effects and adjust settings like brightness or contrast for optimal animation. For complex animations, create separate layers from your photo to isolate and animate specific elements.
Step 2. Use keyframes, masks, and animation presets to add movement and create the desired animation effect.
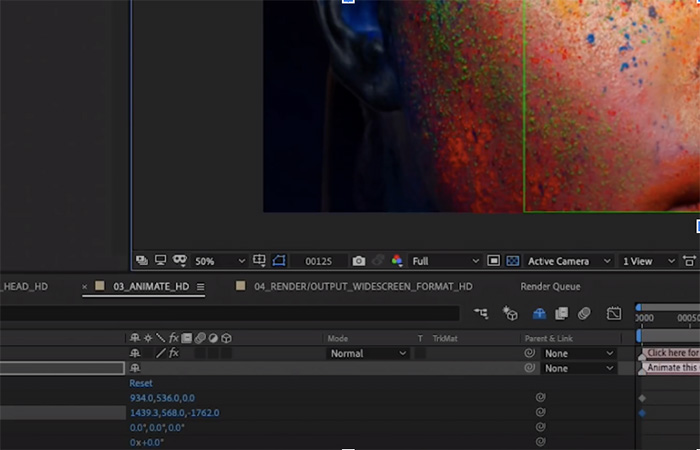
Step 3. Fine-tune timing, speed, and transitions. Consider adding audio or visual effects for enhanced storytelling.
Step 4. Export your finished animation as a high-quality video file for sharing on social media or personal projects.
How to Animate a Still Image online with Canva
While powerful tools like After Effects offer unmatched creative freedom and advanced animation techniques, they come with a steep learning curve and require significant time investment. For those seeking a simpler and more accessible solution, Canva provides a user-friendly platform to animate still photos.
Canva boasts a library of pre-made animation styles categorized by purpose (e.g., entrance, emphasis) that can be applied with a single click. You can further customize these animations by adjusting speed and even create sequences. While complex animations might not be achievable in Canva, it empowers social media creators and casual users to add a touch of magic to their photos with simple yet effective animations.
Step 1. Launch Canva and upload your desired photo to your design workspace.
Step 2. Explore Canva's library of pre-made animation styles categorized by "Entrance," "Emphasis," and more. Click on the one that suits your photo and vision (e.g., zoom-in, fade-in, bounce).
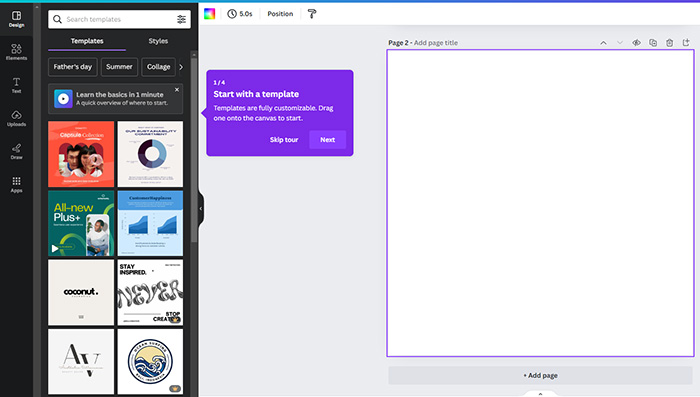
Step 3. Fine-tune the animation speed using the "Duration" option. You can even duplicate and adjust timing to create a sequence of movements.
Step 4. Enhance your animation with text overlays, shapes, music, or sound effects from Canva's library for a richer storytelling experience.
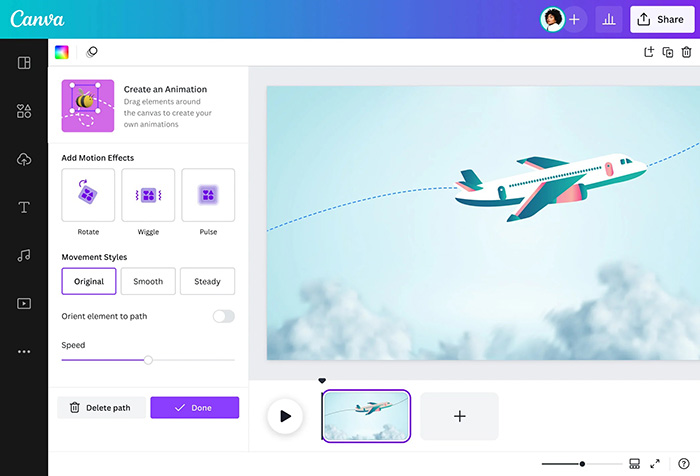
Step 5. Click "Download" and choose your desired video format. Download your animated photo and share it on social media or presentations.
Use high-resolution photos with clear composition, start simple and build your skills, experiment with timing to find the right pace, and tailor your animations to your target platform. With these steps and a dash of creativity, Canva empowers you to transform your photos into captivating animations.
Final Thoughts
The fusion of traditional animation principles with modern AI technology offers a unique and exciting avenue for artistic expression. By harnessing the power of Google Vlogger AI, you can create animations that captivate and inspire. This guide provides the foundation, but your creativity and imagination are the true driving forces behind your animated creations. Embrace the process, experiment fearlessly, and let your artistic vision shine through in every animation you create.
Do you ever wish your photos could tell a story that goes beyond a single frame? Look no further than After Effects, a powerful animation software that lets you transform static images into captivating moving pictures. While Google Vlogger AI offers an AI-powered approach, After Effects provides a more hands-on experience for those seeking creative control.


